Follow Me on Pinterest

Monday, March 18, 2013

Buttercream Dream

I have had several people ask what icing I use on my cakes - so here is the answer:  Buttercream Dream!

Seriously the Best. Buttercream. Ever.  I love it.  The recipe comes from AgentCakeBaker on Cake Central.  You can find her post here I have changed up the way I mix it together, but do whatever works for you.  (By the way - I use my KitchenAid mixer when I make this icing, but I am pretty sure you could do it with a hand mixer....)


here

Buttercream Dream

Ingredients

  • 1 stick butter (unsalted) 
  • 1 stick butter (salted) 
  • 1 cup shortening 
  • 2lb bag of confectioner's sugar 
  • 3 teaspoons vanilla extract 
  • 5-6 Tablespoons of milk (cold)

Instructions

Cream butter and shortening. Add vanilla extract then add 1/2 the confectioner's sugar. Allow confectioner's sugar to blend well then add 3 Tablespoons of the milk.  Blend.  Add remaining sugar.  Blend.  Add 2-3 Tablespoons milk and blend for 5-6 minutes.  For thinner consistency, add more than 6 tablespoons of milk.

Who Says Cammo Isn't Cute??


My nephew turned 1 in January and my sister asked me to make a cammo cake.   So I scoured the internet trying to get an idea of HOW to do this.....
I found this post by Crafty Mama  Brilliant!! I just needed to put it together in cake form....

Now, I made my own cake batter instead of using a box, but other than that I followed her directions.  I divided the batter in to 4 bowls:

1: White batter.
2: White batter with green food coloring and a dash of chocolate batter.
3: Equal parts chocolate and white batter.
4: Chocolate batter.

Instead of cupcakes, I made 3 (9 inch) rounds and I spooned globs of different colored batter in the pans.  I forgot to take pictures until they were in the oven, but you get the idea: 


I also make a large chocolate cupcake for a smash cake :)  Here they are all baked:


While the cakes were baking, I made a batch of chocolate icing to frost the cake and a batch of buttercream for decorating.  (That will come later.....) Now for the fun part! 
Stack and frost the cakes:

I cut the "dome" off this cake to make it nice and flat.
 

2nd cake - cut the "dome" off this one too.....

3rd cake - I leave the dome on the top layer, I like the way it looks :)

I iced the top smooth, and a rough frost around the side.

The edges don't have to be perfect, since they will be covered.

Next I divided the buttercream icing into 3 bowls:

1. White icing with a little bit of green food coloring and a little bit of cocoa powder
2. White
3. White icing with cocoa powder


All decorated with dots of colored icing

The "cammo" was piped with colored icing as well.....


Are you ready for the big finish???
          When we cut the cake I was so excited!  I think it looked great!!


Happy Birthday!!

Tuesday, July 10, 2012

True Confessions

I love Pintrest.  I do.  I LOVE it. 

I love the looking... the pinning... 
the "Oh my goodness!  I am TOTALLY doing that!" feeling you get with every pin..... 
I have several boards with stuff pinned all over, but that's all I have done.  Yep I am a pinner.  Not a doer.......  until today.

You see, I have these jeans.  I found them on clearance (SCORE!) but they are a little long.  Ok.  They are "Long" jeans - and I wear "Average"  BUT they were on clearance (SCORE!)  I wore these jeans to run to the grocery store and I had just slipped on my flip-flops.  Big mistake.... or LONG mistake....hahaha  Anyway, I cursed the day I ever bought long jeans.  (Then I remembered how cheap they were on clearance - SCORE!)

So, the other day I am looking on Pintrest and I found this post

"Oh my goodness!  I am TOTALLY doing that!!"

I love Pintrest.  Love.

Now - as long as this is true confessions, here's another.  I don't sew.  My mother made my wedding dress....she is amazing.  She can sew anything.  Apparently being a seamstress is NOT hereditary.  Nope.  So, sewing for me is terrifying.
Now, I do own a sewing machine, it was a Christmas present from my husband.  (Subtle, don't you think?)  99.9% of the time it's in a box in my closet, but I brought it out for this one....

Here's my process:

Mmmmmkay.  They are a little long.

......but they were on clearance.  SCORE!!

The pink pin is marking where the length SHOULD be.

You measure to the original seam.  I need to take off  3 1/4 inches.  Wow.  They ARE long.

I turned up the jeans and measured HALF of 3 1/4 inches.  Which is an inch and a half, plus an eighth.

That's how I measured all the way around.  I even said it out loud.  "An inch and a half...plus an eighth." 

Sew right next to the original hem.

Cut off the excess and iron.

The lady in the original post did a top stitch... I didn't.

They were on clearance - and they are the right length!  SCORE!! 

My sewing machine freaked out at the end.  Big mess of thread......tangled and ugly.  
I let out a Darth Vader "NOOOOOOOOO!"  And then decided to be done.  I will do a top stitch at some point to keep them from curling up, but for now I am happy to have totally done something I saw on Pintrest.  I can't wait for the next project.  I better get on Pintrest RIGHT NOW!!  I love Pintrest.  Love.

Friday, June 1, 2012

Birthday Cake How-To


I took the Wilton Cake Decorating Classes about 10 years ago because I wanted to be able to make birthday cakes for my kids.  I have made a bunch of cakes since then, but today was special because my baby girl is turning 8 years old.  As I was putting this cake together, I thought people always ask "How do you DO that?" So I took a couple of pictures and will explain what I did :)

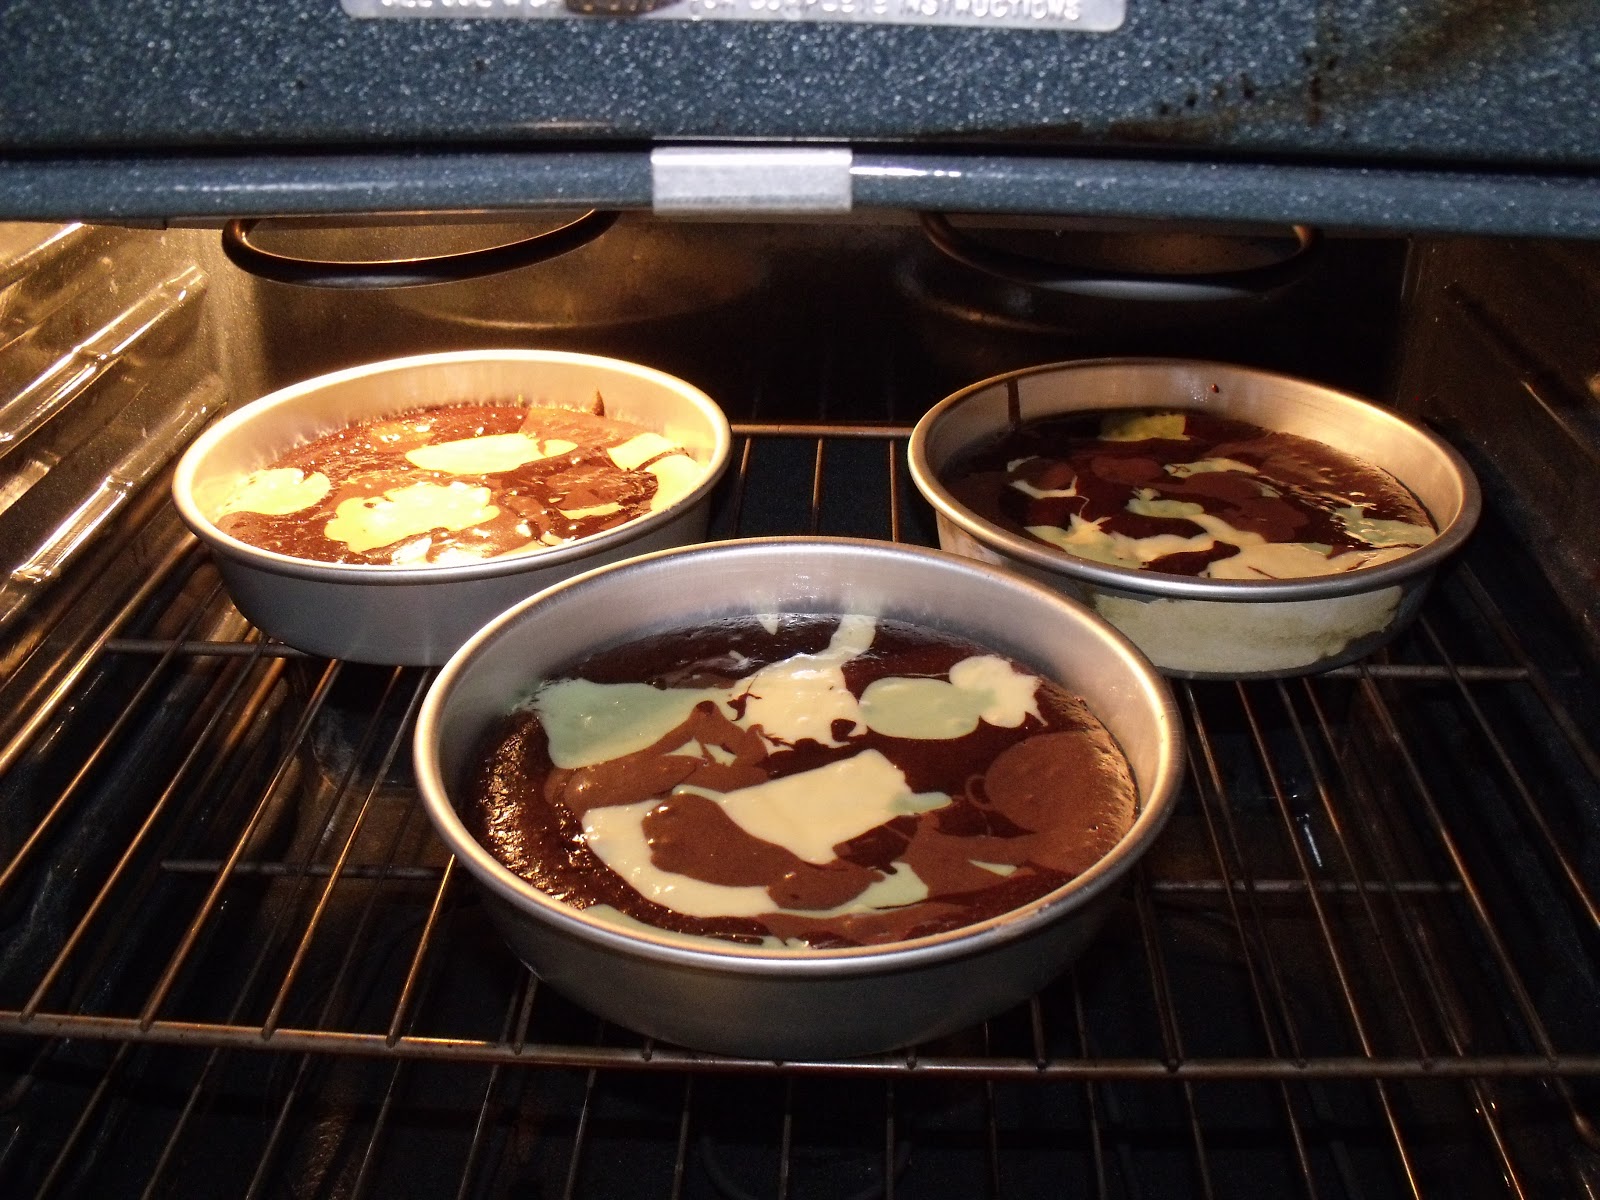
So the first thing I did was bake two 8 inch vanilla cakes.  I always make my cakes from scratch, but you can make whatever cake you like.  I bake the day before, wrap the cakes twice in plastic wrap, and stick them in the freezer.

I usually make the icing the day I decorate,  but in this case I made it the day before because I did a frozen buttercream transfer.  Sounds complicated?  Not so much....stay with me on this one.  You will like it :)

So my daughter is turning 8 and EVERY 8 year old girl loves horses, right?  So naturally that is what she wanted on her cake.  Now I am not an artist, and there is no possible way I could freehand a horse - that's where the frozen buttercream transfer comes in.  Step one:  find a picture you like - keep it simple.  Make sure it is the right size for your cake.  


Remember:  the picture needs to be the reverse of how you want it to be on 
the cake.  In this case, the direction of the horse is no big deal - but if you have writing it needs to be BACKWARDS at this stage in order to be read on the cake.

Step two: Put the picture on a cake board, cookie sheet, whatever, then tape wax paper over it.  Outline the drawing - KEEP IT SIMPLE.  This horse had a beautiful, detailed eye - when I did it in icing it's a cute little line to look like she is smiling.  


Step three:  Mix your icing colors in small batches and fill in.  I used a #2 tip for the outline as well as filling in the tail, etc.

Remember:  You are working from the front to the back.  It's ok to cover the black lines (like I did in the tail) because they will be seen on the cake.


Keep filling in color......


Step four: CAREFULLY cover the entire image with the same color frosting you are putting on the cake.  This will help with stability when you transfer the image to your cake.


Now - stick it in the freezer.  I leave mine overnight.  The next day - prepare your cake.  Level, fill, and crumb coat your cake.  It doesn't have to be pretty....


Now pull the buttercream transfer out of the freezer, and flip it over onto the cake.  Remove the tape, cake board, and paper image.  Make sure your transfer is where you want it and then take the wax paper off.


Cool beans, eh?  Except now you are thinking, "Wow.  Those edges look like crap!"  Don't freak out.  Just fill in the edges with icing, and blend into the transfer.  


Voila!!  Smooth as silk.  Now you can do whatever you want to the sides of your cake.  I decided to do a cool little thing.  I don't even know what this technique is called - but my daughter says it looks like petals.  I can go with that - ahem.  The petal technique.

I mixed the icing so it was a very dark purple/pink shade.  I wanted the color on the side to go from dark to light, so I did this one row at a time:


Use a #12 tip to make a dot of icing, then smoosh it just a little with your spatula and pull to the side.  (I am left-handed so my petals go left.)  Be sure to wipe off your spatula on the side of your bowl of icing after every smoosh.  That way you won't put excess icing on the next dot.  If you are doing this design with all one color, put a vertical row of dots on the cake and pull them all over then put the next row on.  This makes the process MUCH faster.  Since I am using several colors, I could only do one row at a time. When I finished a row, I would mix an equal part of white icing into the colored icing.  That way the color would be the same, just a lighter shade.


Keep working one row at a time, till you reach the top.


When I got to the top, the edge was bugging me.  I started putting a row of little dots around the top, but my daughter wanted a zig zag.  So I scraped off the dots and added a zig zag around the top, much to her delight :)


TA DA!!  Finished!  Now lets eat!!


Tuesday, May 22, 2012

Mountain Man Journal Project

It's the end of the school year, so you know what THAT means......school projects!!
J had to make a "mountain man journal" for his Utah Studies class.
He wanted it to look old, so here is what we did:


First we "aged" the paper.  I used a 9x13 cake pan and filled it 1/3 full with coffee.  Really super strong coffee.  I just bought the cheapest instant coffee I could find and mixed it with the water in the pan. (I used a LOT of coffee - I wanted it dark....)  Then we took regular printer paper, wrinkled it up a
little bit and dipped it in the coffee.  We let it drip off a little and then put it on a cookie sheet
(one piece of paper at a time) and then into a 200 degree oven for a minute to dry out.
This worked really well.  We made a bunch in just a short amount of time.


I used a little chalk around the edges of the paper to give it a little more depth.  
You can find these in the scrapbooking section of your favorite craft store.  


We ran a test page through the printer - it worked!!  After I thought about it, it would probably be better to print on the paper FIRST and then age it.  Oh well.  Live and learn.  We printed the pages without too much trouble.  A couple of pages got a little tear on the edges, but we decided that it just enhanced the aging :)


 We printed the pages in order.  J did not want to stack the pages, he wanted them folded in half and
set in the book side by side.  We had to enlist my husband to help with the binding process.
First, he laid out strips of black duct tape.


Then he stuck the first and last pages of the journal to the duct tape.
Be sure to leave enough room in between the pages for the rest to fit in.....

My husband cut a notch in the tape where the binding will be, then they folded the
extra tape  over the first and last pages...


and added another piece to make a straight edge.....


We stuck the rest of the papers in between the first and last and pressed them into the "binding." 


That's it!!  Do you know the best part of this project??  
J got 10 extra credit points for all the hard work!!